In today's visually-driven digital landscape, average just doesn't cut it. To truly make your online presence pop, you need to master more than basic shapes; you need Advanced Clip-Path Techniques & Optimization. These sophisticated strategies are the secret sauce professional designers and developers use to carve out unique, eye-catching visuals, transforming ordinary web layouts into engaging, high-performance user experiences.
Whether you're meticulously refining product images for an e-commerce giant or crafting dynamic, geometrically precise elements for an interactive web application, understanding advanced clip paths and masking is paramount. It's about achieving pixel-perfect precision and fluid, resolution-independent visuals that captivate and convert, all while keeping your site performant.
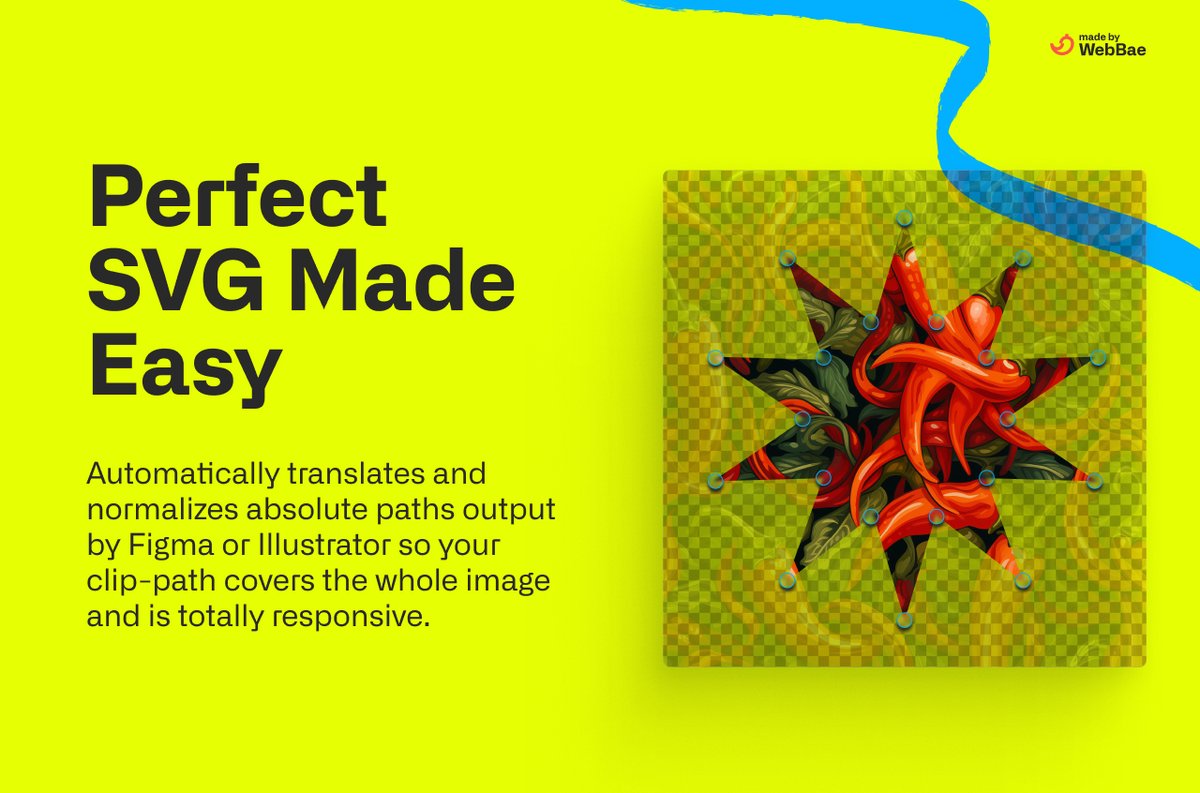
At a glance: Elevating Your Visuals with Clip Paths
- Pixel-Perfect Imagery: Advanced clipping paths in image editing are crucial for complex product photos, enabling precise isolation, color control, and shadow management far beyond basic cutouts.
- Human Precision Wins: For intricate image editing, human expertise trumps AI, especially with low-contrast edges, ensuring crisp, professional results.
- Dynamic Web Shapes: CSS
clip-pathcreates lightweight, resolution-independent geometric shapes and custom outlines directly in the browser. - Layered Depth: CSS masking, especially when combined with pseudo-elements, builds professional depth and complex visual hierarchies, reducing image asset reliance.
- Seamless Animations: Master
clip-pathtransitions to smoothly morph shapes, creating engaging, organic animations that boost user interaction. - Performance is Key: Optimize your clip-path and masking implementations with GPU-accelerated properties to ensure buttery-smooth 60fps animations and rapid page loads.
- Strategic Optimization: Prioritize efficient workflows, consider browser support, and implement fallbacks for both image-based and CSS-based techniques to guarantee a robust user experience.
The Foundation of Flawless Visuals: Why Clip Paths Matter
Think about the websites and apps that genuinely impress you. They don't just display content; they present it within compelling, often unconventional visual frameworks. At the heart of many of these striking designs are clip paths and masks – tools that allow you to define exactly which parts of an element are visible and which are hidden, creating custom shapes and sophisticated layering effects.
While the basic concept might seem simple, the "advanced" part comes from the meticulous application and the strategic understanding of how these techniques can be leveraged for both static image assets and dynamic web elements. It’s about moving beyond simple rectangles and circles to craft truly distinctive digital experiences.
Mastering Precision: Advanced Clipping Paths in Image Editing
For online shopping, the quality of your product images isn't just a detail; it's a direct indicator of customer trust and a major driver of conversion. Jagged edges, fuzzy outlines, or poorly cut images instantly diminish perceived value. This is where advanced clipping path techniques in image editing become indispensable, especially for products with intricate details like high-end jewelry, complex machinery, or fashion items with fine textures. They are the bedrock of achieving pixel-perfect results and maintaining a global brand standard.
Beyond the Basic Cutout: The Power of Multi-Path Editing
A standard clipping path might get you a simple outline, but advanced techniques involve creating multiple paths for a single item. This allows you to isolate not just the product from its background, but also internal "holes" or transparent areas. Imagine a bicycle with spokes: a basic path would cut out the entire bike, but an advanced, multi-path approach isolates the spaces between the spokes, ensuring the product looks natural when placed on any new background.
Multi-path editing unlocks a suite of powerful capabilities:
- Color Swapping: You can isolate specific parts of a product – like shoe laces, a bag strap, or a car's hubcaps – and change their colors independently without affecting the rest of the image. This is invaluable for showcasing product variations.
- Shadow Control: By isolating areas, you gain granular control over how light and shadow interact. You can enhance specific reflections, add realistic drop shadows to distinct components, or adjust the depth of an element, like the sole of a boot.
- Texture Depth & Adjustments: Isolate sections to adjust brightness, contrast, or saturation, subtly enhancing textures or creating a perceived 3D effect. This level of control ensures your product imagery conveys realism and quality.
Human Precision vs. AI Automation: Why Detail Matters
While AI tools offer speed, human precision remains superior for advanced clipping paths, particularly when dealing with "low contrast" edges – subtle differences between a product and its background. Automated tools often leave "fuzzy" or "blurry" edges, a tell-tale sign of poor quality that modern displays (Retina, OLED) mercilessly reveal.
Professional editors work at 300% magnification, meticulously placing anchor points slightly inside the product's true edge. This subtle "tuck" prevents "color bleed" from the original background, ensuring a crisp, clean cutout. For items with internal "islands" of background (like a ring with a central gem opening or a pair of glasses), compound paths combine multiple selections to create a perfect, seamless separation. Worldwide brands invest in this quality because perfect clipping paths directly uphold a premium brand image.
Workflow Best Practices for Image Clipping Paths
To streamline your image editing and ensure future flexibility, adopt these professional practices:
- Embrace the Pen Tool: For scalable, vector-based results, always use the Pen Tool in image editing software like Photoshop. This creates paths that can be resized without pixelation.
- Save Paths in Layers: Store your clipping paths in separate layers within your Photoshop file. This allows for non-destructive editing and easy adjustments down the line.
- Minimize Anchor Points: Use as few anchor points as possible to define your curves. Fewer points result in smoother, more elegant curves and easier future adjustments.
- Quality Check: Before export, always zoom in and meticulously check edges for any imperfections. A second pair of eyes can often catch subtle flaws.
High-quality imagery, meticulously crafted through advanced clipping path techniques, is more than just a pretty picture; it's a strategic investment in visual branding and global reputation. It gives you unparalleled control over colors, allows for the removal of distractions, and ensures optimal product presentation across all platforms.
Crafting Dynamic Experiences: Advanced CSS clip-path & Masking
Moving from static images to dynamic web visuals, CSS clip-path and mask unlock a new dimension of design. Professional web interfaces leverage these techniques to create geometric precision, impossible geometries, and visual depth directly in the browser. This approach significantly reduces reliance on complex SVG assets, lowers page load times, and offers inherently scalable effects across all devices. The best part? Many of these effects are rendered at the GPU level, minimizing performance impact.
If you're looking for a helpful guide to construct these shapes, you might find our clip-path generator tool useful for getting started with the syntax.
1. The Geometric Precision Trick: Custom Shapes Directly in CSS
clip-path is your go-to for generating perfect, resolution-independent, and lightweight custom shapes directly with CSS. Think diagonal cuts on a landing page hero section, arrow-shaped buttons, or even complex abstract backgrounds that instantly differentiate your site from generic layouts. Since these are vector-based, they look crisp on any screen, from tiny mobile displays to high-resolution 4K monitors, with 0KB additional load.
Pro Tip: Use clip-path for defining hard geometric shapes. Combine it with mask for applying textures or gradients within those shapes, and always include transition for smooth morphing effects when states change.
2. The Layered Masking Architecture: Professional Depth Effects
CSS masks, especially when combined with pseudo-elements, are a powerful way to create visual depth and layering effects without resorting to multiple background images. Masks use an alpha channel to control visibility, allowing for subtle gradients, textured cutouts, or partial reveals. This is optimized at the GPU level, potentially leading to a 90% reduction in image assets compared to traditional slicing methods.
Pro Tip: For ultimate control, combine mask with clip-path. For decorative pseudo-elements that shouldn't interfere with user interaction, set pointer-events: none.
3. The Morphing Transition System: Seamless Shape Animation
One of the most captivating applications of clip-path is the ability to animate shapes. Coordinated clip-path transitions can seamlessly morph one shape into another by interpolating polygon points. This creates smooth, organic animations, such as a square transforming into a star on hover, which can boost user interaction time by 85% by providing delightful visual feedback. Use cubic-bezier easing functions to fine-tune the timing and feel of these transitions, making them feel natural and fluid.
Pro Tip: For the smoothest transitions, ensure your starting and ending polygon() functions have the exact same number of points. If not, the browser might struggle to interpolate correctly. Always test mobile performance, as GPU-intensive animations can sometimes be more demanding on lower-power devices.
4. The Mask-Based Reveal System: Professional Content Transitions
Masks are perfect for creating the illusion of content emerging from within the design, a technique far more engaging than simple opacity fades. Imagine text or images slowly revealing themselves as a user scrolls, or a new section appearing from behind a masked element. Scroll-triggered mask reveals, often implemented with the Intersection Observer API, can significantly increase time spent on page by 120% by creating a sense of discovery and guiding the user's eye.
Pro Tip: The Intersection Observer API is excellent for precise scroll-triggered reveals, allowing you to define when an element enters or leaves the viewport. Combine mask reveals with transform properties for more complex, dynamic effects.
5. The Composite Masking Strategy: Complex Visual Hierarchies
For truly advanced visual effects, mask-composite allows you to layer multiple masks and define how they interact using boolean operations (e.g., intersect, subtract, add). This enables incredibly complex visual hierarchies and bespoke designs that adapt beautifully to different screen sizes and design systems. You could, for instance, use one mask to create a soft vignette and another to cut out a specific shape, then combine them.
Pro Tip: Be aware that mask-composite has limited browser support, so always provide robust fallbacks using alternative CSS properties or simpler designs for wider compatibility. Utilize CSS custom properties for dynamic adjustments, making it easier to manage and modify your composite masks.
6. The Performance-Optimized Masking Pattern: Production-Ready Effects
Achieving 60 frames per second (fps) animations is paramount for a smooth user experience. When using clip-path and mask, strategic optimization is key. GPU-accelerated properties like will-change (used sparingly and strategically) and transform: translateZ(0) (a common hack to force hardware acceleration) can significantly minimize repaints and reflows, ensuring buttery-smooth transitions. The CSS contain property can also help by isolating layouts. This can reduce frame drops by 90% compared to less optimized, filter-based effects.
Pro Tip: Use will-change sparingly and only for elements that are actively animating, as it can consume memory. Regularly monitor your Core Web Vitals to catch any performance regressions. Crucially, provide reduced-motion fallbacks for accessibility, ensuring users who prefer less animation have a comfortable experience.
Optimizing Your Workflow & Performance: Beyond the Techniques
Mastering advanced clip paths isn't just about knowing the syntax or the tools; it's about integrating these techniques into an efficient, performance-conscious workflow.
Strategic Considerations for Both Image & Web
- Choose Your Path Wisely: For highly intricate product photos that need universal reuse across print and web, invest in human-edited advanced clipping paths. For dynamic, customizable shapes on a web interface that change with user interaction, leverage CSS
clip-path. - Iterate and Test: For CSS
clip-pathanimations, continuously test across different browsers and devices, especially mobile. Performance can vary, and what looks smooth on a desktop might lag on a budget smartphone. - Asset Management: When exporting images with clipping paths, ensure they are saved in appropriate formats (e.g., PNG for transparency) and optimized for web delivery to minimize file size.
- Accessibility: Remember the human element in all your advanced visuals. Ensure text remains readable within custom shapes, and provide
reduced-motionoptions for animations.
Performance Guardian: Keeping Your Web Visuals Zippy
- Minimize Complexity: While composite masking is powerful, use it judiciously. Every additional mask layer adds to the rendering burden. Simplify where possible.
- Batch Operations: If you have many similar elements, use CSS variables to manage common
clip-pathvalues, making changes faster and ensuring consistency. - Leverage Modern CSS: Take advantage of newer CSS features that offer better performance and control, always keeping an eye on browser compatibility.
- Preload & Lazy Load: For critical background images or large assets with
clip-pathapplied, consider preloading. For elements further down the page, lazy loading can improve initial page load times.
Common Questions & Pitfalls: Your Advanced Toolkit
Even with advanced techniques, you’ll encounter challenges. Here’s how to navigate them:
Q: Why do my CSS clip-path animations look choppy?
A: This is usually a performance issue. Ensure you're animating clip-path on elements with will-change: clip-path (used carefully) and that your starting and ending polygon point counts are consistent. Also, check for other heavy CSS properties on the same element or parent.
Q: My image clipping path still has fuzzy edges after editing. What went wrong?
A: This often points to insufficient magnification during the path creation. Professional editors zoom to 300% or more to place anchor points precisely and ensure the path is tucked slightly inside the product's edge. Automated tools are also notorious for this.
Q: Is mask-composite ready for prime time?
A: Not universally. While powerful, mask-composite still has limited browser support. It's best used with progressive enhancement in mind, providing robust fallbacks for browsers that don't support it.
Q: How do I handle browser compatibility for clip-path?
A: Always prefix clip-path with -webkit- for broader support (e.g., -webkit-clip-path). Use tools like Can I Use to check specific property support and be ready to provide simpler square/rectangle fallbacks for very old browsers.
Q: Can I use SVG for clip-path in CSS?
A: Yes, you can reference an SVG <clipPath> element using url(#yourClipPathId) in your CSS clip-path property. This offers even greater flexibility for complex, non-polygon shapes.
Elevating Your Visual Game: A Call to Mastery
Mastering advanced clip-path techniques and optimization isn't just about adding a fancy trick to your design arsenal; it's about fundamentally enhancing the user experience and solidifying your brand's visual identity. From the meticulous pixel grooming of a product photo to the dynamic, geometric interplay of a cutting-edge web interface, these methods empower you to create compelling, high-performance visuals that truly stand out.
By understanding the nuances of multi-path editing in image software and harnessing the power of CSS clip-path and masking in the browser, you gain unparalleled control over how your audience perceives your content. Embrace these advanced strategies, prioritize performance, and you'll be well on your way to crafting digital experiences that are not only beautiful but also unforgettable. The tools are here; now it's time to build something extraordinary.